Fall-Off-The-Bone Dry Rub Ribs

These Fall-Off-The-Bone Dry Rub Ribs are the ultimate comfort food for gatherings, family dinners, or any BBQ occasion. The tender meat, infused with a flavorful homemade dry rub, will leave everyone craving more. Perfect for casual weeknight meals or festive celebrations, these ribs are sure to impress with their juicy, melt-in-your-mouth qualities.

Why You’ll Love This Recipe
- Easy to Make: With simple ingredients and straightforward instructions, you can whip up these ribs in no time.
- Flavor-Packed: The homemade dry rub brings out the best flavors in the pork, offering a delightful balance of spicy and smoky notes.
- Versatile: Pair these ribs with your favorite sides like coleslaw or baked beans for a complete meal that suits any occasion.
- Tender and Juicy: Baking low-and-slow ensures the meat is exceptionally tender, making them fall-off-the-bone good!
- Grill Finish: The final grilling step adds an irresistible char while sealing in all that delicious flavor.
Tools and Preparation
Before diving into this recipe, gather your tools to ensure a smooth cooking process. Having everything at hand makes preparing these fall-off-the-bone ribs much easier.
Essential Tools and Equipment
- Aluminum foil
- Baking sheet
- Grill
- Meat thermometer
- Mixing bowl
Importance of Each Tool
- Aluminum foil: Helps to retain moisture during baking, ensuring your ribs remain tender.
- Baking sheet: Provides a sturdy surface for cooking the ribs in the oven while catching drippings.
- Grill: Adds that perfect char and smoky flavor to finish off your ribs beautifully.
- Meat thermometer: Essential for checking doneness and achieving the perfect fall-off-the-bone texture.
Ingredients
These baby back ribs are seasoned with an easy homemade dry rub and baked in the oven till they are tender and fall off the bone. These dry rubbed ribs are slathered in BBQ sauce and finished on the grill for juicy, tender fall-off-the-bone ribs! Keep this homemade rib dry rub in your pantry at all times.
Grab This Chef Knife Now - Almost Gone!
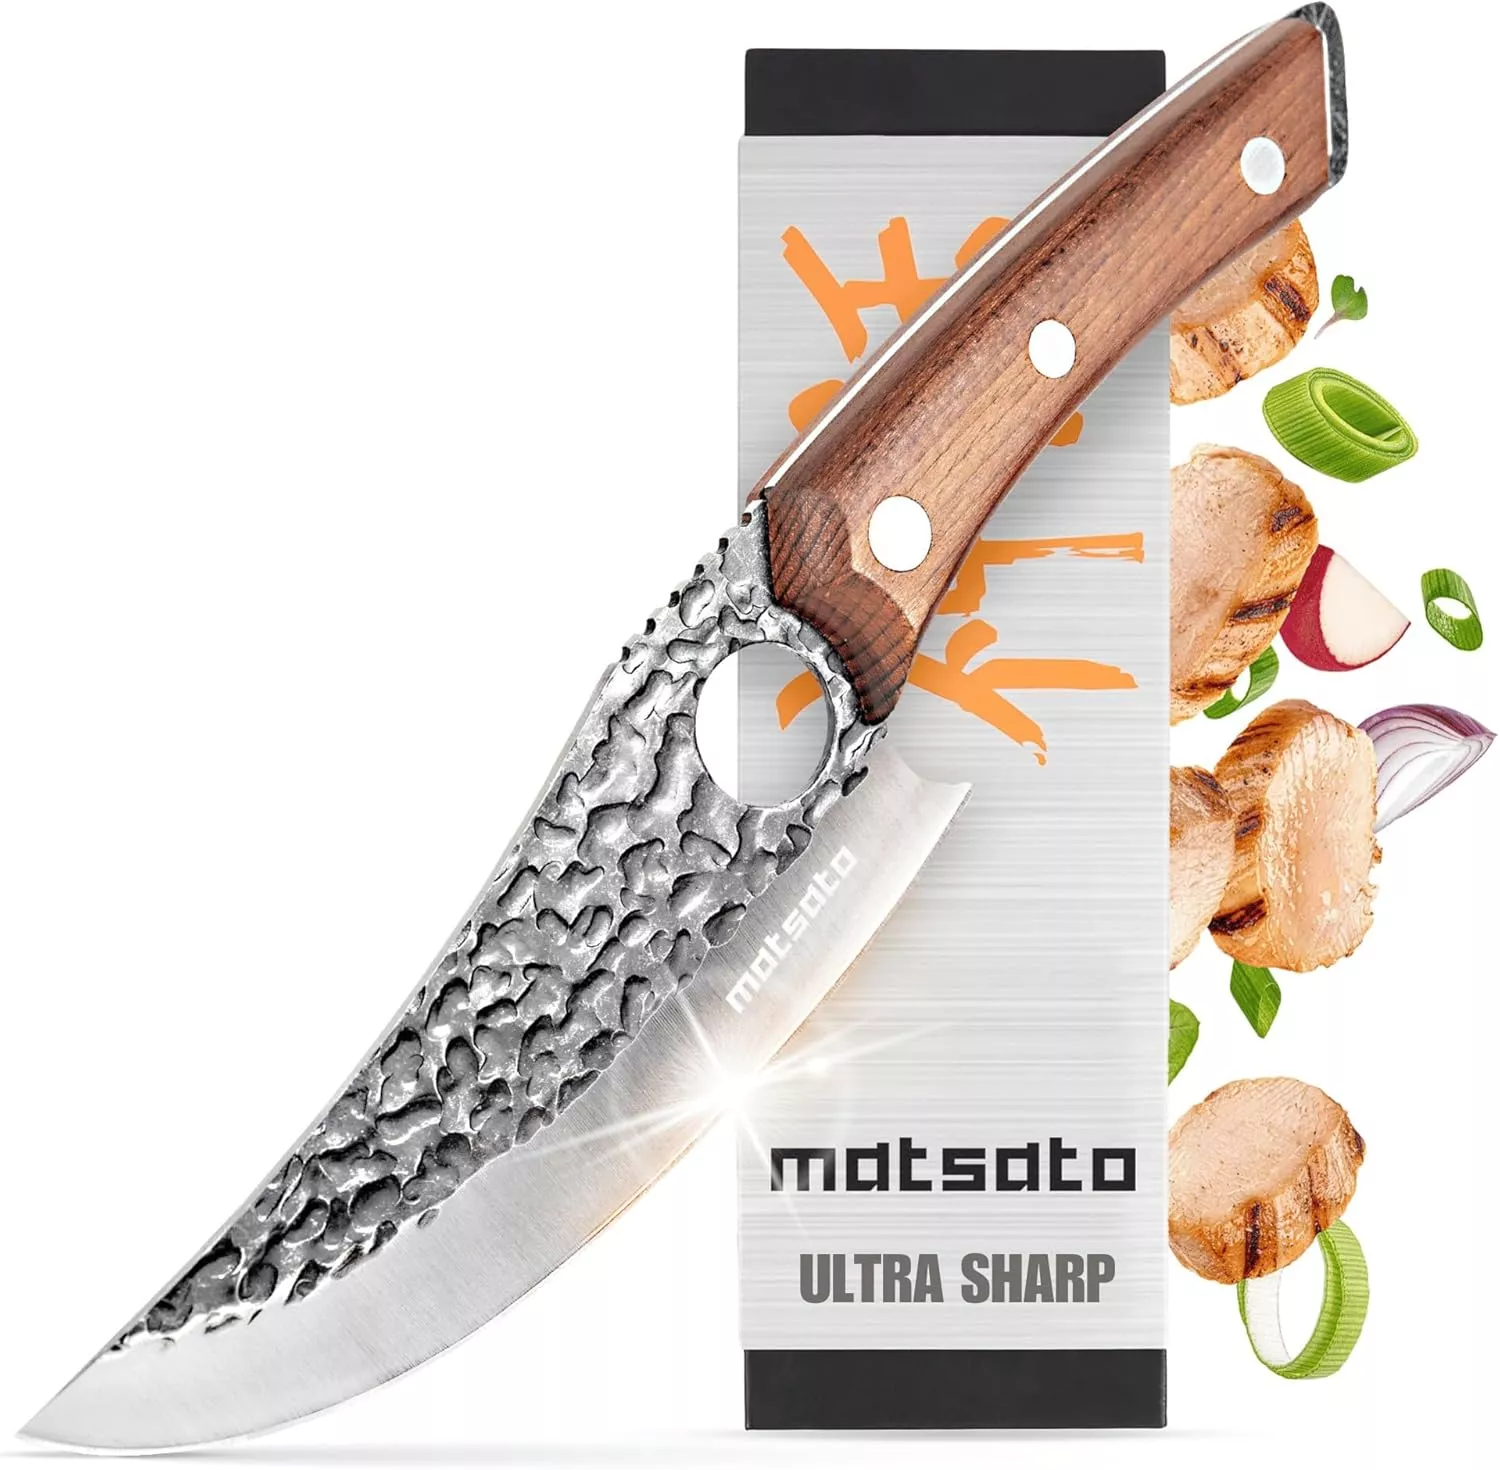
- Stays Razor-Sharp: Ice-hardened blade keeps its edge longer than ordinary knives
- Superior Grip Control: Unique finger hole design gives you perfect balance and safety
- Built to Last a Lifetime: Premium stainless steel blade with elegant beech wood handle
Customer Reviews ★★★★★
For the Ribs
- 2 racks baby back ribs (membrane removed)
- 4 tablespoons yellow mustard
For the Dry Rub
- 2 tablespoons dark brown sugar
- 1 tablespoon smoked paprika
- 1 tablespoon chili powder
- 1 tablespoon granulated garlic
- 1 tablespoon granulated onion
- 1 teaspoon ground black pepper
- 1 teaspoon white pepper
- 1 teaspoon cayenne pepper
- 1 teaspoon smoked sea salt
- 1 tablespoon kosher salt
For Finishing
- BBQ sauce of choice
How to Make Fall-Off-The-Bone Dry Rub Ribs
Step 1: Prepare Ribs
Remove the membrane from baby back ribs carefully; this is crucial for tenderness.
Step 2: Make the Dry Rub
In a mixing bowl:
1. Combine all spices listed under For the Dry Rub.
2. Mix until well combined and break up any clumps with a spoon.
Step 3: Season Ribs
Prepare two sheets of aluminum foil:
1. Place one rack of ribs on each sheet, curved side down.
2. Brush each rack with 1 tablespoon of yellow mustard.
3. Sprinkle ¼ of the dry rub over each rack; use fingers to spread evenly.
4. Flip racks over and repeat with mustard and remaining dry rub.
Step 4: Wrap Ribs
Wrap each rack tightly in foil:
1. Ensure they are fully sealed by adding an extra layer of foil if needed.
2. Place wrapped racks curved side down in the fridge for 2 hours.
Step 5: Bake Ribs
Preheat your oven to 275℉:
1. Place wrapped ribs on a baking sheet curved side down.
2. Bake for 2 ½ hours; if liquid seeps out, wrap them tightly with more foil.
Step 6: Grill Ribs
Preheat grill to 350℉:
1. Remove ribs from oven and carefully open foil.
2. Check internal temperature between bones (ideal temp is between 190°F-200°F).
3. Brush BBQ sauce on top of ribs before transferring them to the grill using two sets of tongs.
Step 7: Finishing Touches
Grill sauced side down:
1. Grill for about 5 minutes per side until charred marks appear.
2. Remove from grill when ready; let rest before slicing into individual portions.
Enjoy serving your delicious Fall-Off-The-Bone Dry Rub Ribs with extra BBQ sauce on the side!
How to Serve Fall-Off-The-Bone Dry Rub Ribs
Serving your Fall-Off-The-Bone Dry Rub Ribs can elevate any meal. These tender ribs pair well with various sides and sauces, making them a versatile dish for gatherings or family dinners.
Classic BBQ Style
- Coleslaw – A crunchy and creamy slaw adds a refreshing contrast to the rich flavors of the ribs.
- Cornbread – Sweet cornbread complements the smoky taste of the ribs, providing a delightful texture.
- Baked Beans – Hearty baked beans bring sweetness and depth to your plate, perfect alongside savory ribs.
Gourmet Touch
- Garlic Mashed Potatoes – Creamy mashed potatoes infused with garlic offer a comforting side that balances the meal.
- Grilled Vegetables – Seasonal veggies grilled to perfection add color and health benefits to your rib feast.
- Macaroni and Cheese – This cheesy classic is always a hit, providing a creamy texture that pairs well with BBQ flavors.
Casual Gatherings
- Potato Salad – A chilled potato salad is a great option, bringing tanginess that cuts through the richness of the meat.
- Pickles and Jalapeños – A side of pickles or spicy jalapeños adds a zesty kick that enhances the overall flavor experience.

How to Perfect Fall-Off-The-Bone Dry Rub Ribs
To achieve truly perfect Fall-Off-The-Bone Dry Rub Ribs, pay attention to these key tips for best results.
- Choose Quality Ribs – Start with fresh, high-quality baby back ribs for maximum tenderness and flavor.
- Remove Membrane Carefully – Ensuring no membrane remains will help keep your ribs tender throughout cooking.
- Marinate Overnight – For even deeper flavor, let the dry rub sit on the ribs in the refrigerator overnight before cooking.
- Monitor Cooking Temperature – Use a meat thermometer to check for doneness; aim for an internal temperature of 190°F-200°F for fall-off-the-bone results.
- Rest Before Slicing – Allowing your ribs to rest after grilling helps keep them juicy when you cut into them.
- Experiment with Sauces – Try different BBQ sauces or even homemade varieties for unique flavor profiles that complement your dry rub.
Best Side Dishes for Fall-Off-The-Bone Dry Rub Ribs
Complementing your delicious Fall-Off-The-Bone Dry Rub Ribs with great side dishes can make your meal unforgettable. Here are some top choices:
- Corn on the Cob – Grilled or boiled corn brushed with butter enhances the summer BBQ vibe.
- Sweet Potato Fries – Crispy sweet potato fries provide a sweet contrast that pairs nicely with savory ribs.
- Caesar Salad – A classic Caesar salad adds crunch and creaminess, balancing out the rich flavors of the meat.
- Roasted Brussels Sprouts – Tossed in olive oil and roasted until crispy, these sprouts are both healthy and delicious.
- Fruit Salad – A light fruit salad offers a refreshing palate cleanser between bites of rich rib meat.
- Rice Pilaf – Fluffy rice pilaf seasoned with herbs provides a neutral base that lets the ribs shine.
Common Mistakes to Avoid
When preparing Fall-Off-The-Bone Dry Rub Ribs, it’s easy to make some common mistakes. Here are a few tips to ensure your ribs turn out perfectly.
- Skipping the membrane removal: Not removing the membrane from the ribs can lead to tough and chewy meat. Always take a moment to remove it before seasoning.
- Using too much rub: Over-seasoning can overwhelm the flavor of the ribs. A light, even coat works best for a balanced taste.
- Not marinating long enough: Rushing the marinating process might prevent the flavors from fully penetrating the meat. Aim for at least 2 hours in the refrigerator.
- Incorrect cooking temperature: Cooking at too high a temperature can dry out your ribs. Always bake low and slow for optimal tenderness.
- Ignoring internal temperature: Not checking the internal temperature can result in undercooked or overcooked ribs. Aim for 190°F-200°F for that fall-off-the-bone texture.

Storage & Reheating Instructions
Refrigerator Storage
- Store leftover ribs in an airtight container.
- Keep them in the fridge for up to 3 days.
Freezing Fall-Off-The-Bone Dry Rub Ribs
- Wrap ribs tightly in plastic wrap or foil before placing them in a freezer-safe bag.
- They can be frozen for up to 3 months.
Reheating Fall-Off-The-Bone Dry Rub Ribs
- Oven: Preheat to 250°F, wrap ribs in foil, and heat for about 30-40 minutes until warm.
- Microwave: Place on a microwave-safe plate, cover with a damp paper towel, and heat in short intervals until heated through.
- Stovetop: Heat on a skillet over low heat, adding a splash of BBQ sauce to maintain moisture.
Frequently Asked Questions
Here are some common questions regarding Fall-Off-The-Bone Dry Rub Ribs.
How do I achieve perfect tenderness with my ribs?
To get tender ribs, cook them low and slow in the oven at 275°F. This method breaks down connective tissues, resulting in fall-off-the-bone goodness.
Can I use different types of BBQ sauce?
Absolutely! You can use any BBQ sauce you prefer, whether it’s sweet, tangy, or spicy. Experimenting with different sauces can add unique flavors to your ribs.
What if I don’t have yellow mustard?
If you don’t have yellow mustard, you can substitute with Dijon mustard or skip it altogether. The mustard helps the dry rub stick but is not essential.
How long do I need to marinate my ribs?
Marinating your Fall-Off-The-Bone Dry Rub Ribs for at least 2 hours allows the flavors to penetrate deeply into the meat for better taste.
Can I make this recipe ahead of time?
Yes! You can prepare the dry rub and apply it on your ribs a day ahead. Just store them wrapped in the refrigerator until you’re ready to cook.
Final Thoughts
These Fall-Off-The-Bone Dry Rub Ribs are sure to impress family and friends with their tenderness and incredible flavor. Feel free to customize the dry rub ingredients or BBQ sauce according to your preferences. Try this recipe for your next gathering!

Fall-Off-The-Bone Dry Rub Ribs
- Total Time: 2 hours 50 minutes
- Yield: Serves approximately 4
Description
Experience the ultimate comfort of Fall-Off-The-Bone Dry Rub Ribs, the perfect addition to your gatherings or family dinners. These tender baby back ribs are coated in a flavorful homemade dry rub that combines sweet and smoky elements, creating a dish everyone will rave about. Cooked low and slow in the oven before a final char on the grill, these ribs are juicy and melt-in-your-mouth delicious. Serve them with your favorite sides for an unforgettable meal that’s both impressive and easy to make.
Ingredients
- 2 racks baby back ribs (membrane removed)
- 4 tablespoons yellow mustard
- 2 tablespoons dark brown sugar
- 1 tablespoon smoked paprika
- 1 tablespoon chili powder
- 1 tablespoon granulated garlic
- 1 tablespoon granulated onion
- 1 teaspoon ground black pepper
- 1 teaspoon white pepper
- 1 teaspoon cayenne pepper
- 1 teaspoon smoked sea salt
- 1 tablespoon kosher salt
- BBQ sauce of choice for finishing
Instructions
- Remove the membrane from the ribs for optimal tenderness.
- In a mixing bowl, whisk together all dry rub ingredients until well combined.
- Brush each rack of ribs with yellow mustard, then evenly sprinkle the dry rub on both sides, ensuring thorough coverage.
- Wrap each rack tightly in aluminum foil and refrigerate for at least 2 hours.
- Preheat your oven to 275°F and bake the wrapped ribs on a baking sheet for approximately 2.5 hours.
- Preheat your grill to 350°F, carefully unwrap the ribs, brush with BBQ sauce, and grill for about 5 minutes per side until charred.
- Prep Time: 20 minutes
- Cook Time: 150 minutes
- Category: Main
- Method: Baking, Grilling
- Cuisine: American
Nutrition
- Serving Size: 1 rib (approx. 150g)
- Calories: 380
- Sugar: 9g
- Sodium: 850mg
- Fat: 24g
- Saturated Fat: 9g
- Unsaturated Fat: 12g
- Trans Fat: 0g
- Carbohydrates: 11g
- Fiber: 0g
- Protein: 31g
- Cholesterol: 90mg


