Homemade Easy Cheesy Pizza Pockets
These Homemade Easy Cheesy Pizza Pockets are a delightful solution for busy weeknights or casual gatherings. Perfect for kids and adults alike, these pockets are filled with gooey mozzarella, savory marinara, and customizable toppings. Whether you’re hosting a party or need a quick snack, these pizza pockets deliver flavor and fun in every bite. Enjoy the simplicity of making mini pizzas that everyone can personalize to their liking!

Why You’ll Love This Recipe
- Quick Preparation: With just 10 minutes of prep time, you can whip up these cheesy delights in no time.
- Kid-Friendly Fun: Kids will love helping out! They can choose their favorite fillings and seal their own pizza pockets.
- Versatile Ingredients: Use any kind of dough or toppings to suit your taste—whether it’s pepperoni or veggies, the options are endless.
- Perfect for Any Occasion: Great as an appetizer, snack, or even a main dish for dinner; they fit seamlessly into any meal plan.
- Easy Cleanup: Baking on parchment paper makes cleanup a breeze, letting you enjoy more time with family and friends.
Tools and Preparation
Before diving into making your Homemade Easy Cheesy Pizza Pockets, gather the necessary tools. Having everything ready will streamline your cooking experience.
Essential Tools and Equipment
- Baking sheet
- Parchment paper
- Rolling pin
- Fork
- Mixing bowl
- Pastry brush
Importance of Each Tool
- Baking sheet: A sturdy surface essential for baking your pizza pockets evenly.
- Parchment paper: Prevents sticking and allows for easy removal of the baked pockets.
- Rolling pin: Helps roll out the dough to the perfect thickness for filling.
- Pastry brush: Ideal for applying egg wash to give your pizza pockets a golden finish.
Ingredients
Dough Options
- 1 package refrigerated pizza dough (or crescent roll dough for flakier texture)
- Optional: Homemade pizza dough
Filling
- 1/2 cup marinara or pizza sauce
- 1 1/2 cups shredded mozzarella cheese
- 1/4 cup grated Parmesan cheese
- 1/4 cup mini pepperoni or cooked sausage (optional)
- 1/4 cup chopped bell peppers, mushrooms, or olives (optional)
- 1 tsp Italian seasoning
- Pinch of red pepper flakes (optional)
Toppings
- 1 egg, beaten (for egg wash)
- Dried oregano or garlic powder (for garnish)
How to Make Homemade Easy Cheesy Pizza Pockets
Step 1: Preheat the Oven
Preheat your oven to 375°F (190°C). Line a baking sheet with parchment paper to ensure your pizza pockets don’t stick while baking.
Grab This Chef Knife Now - Almost Gone!
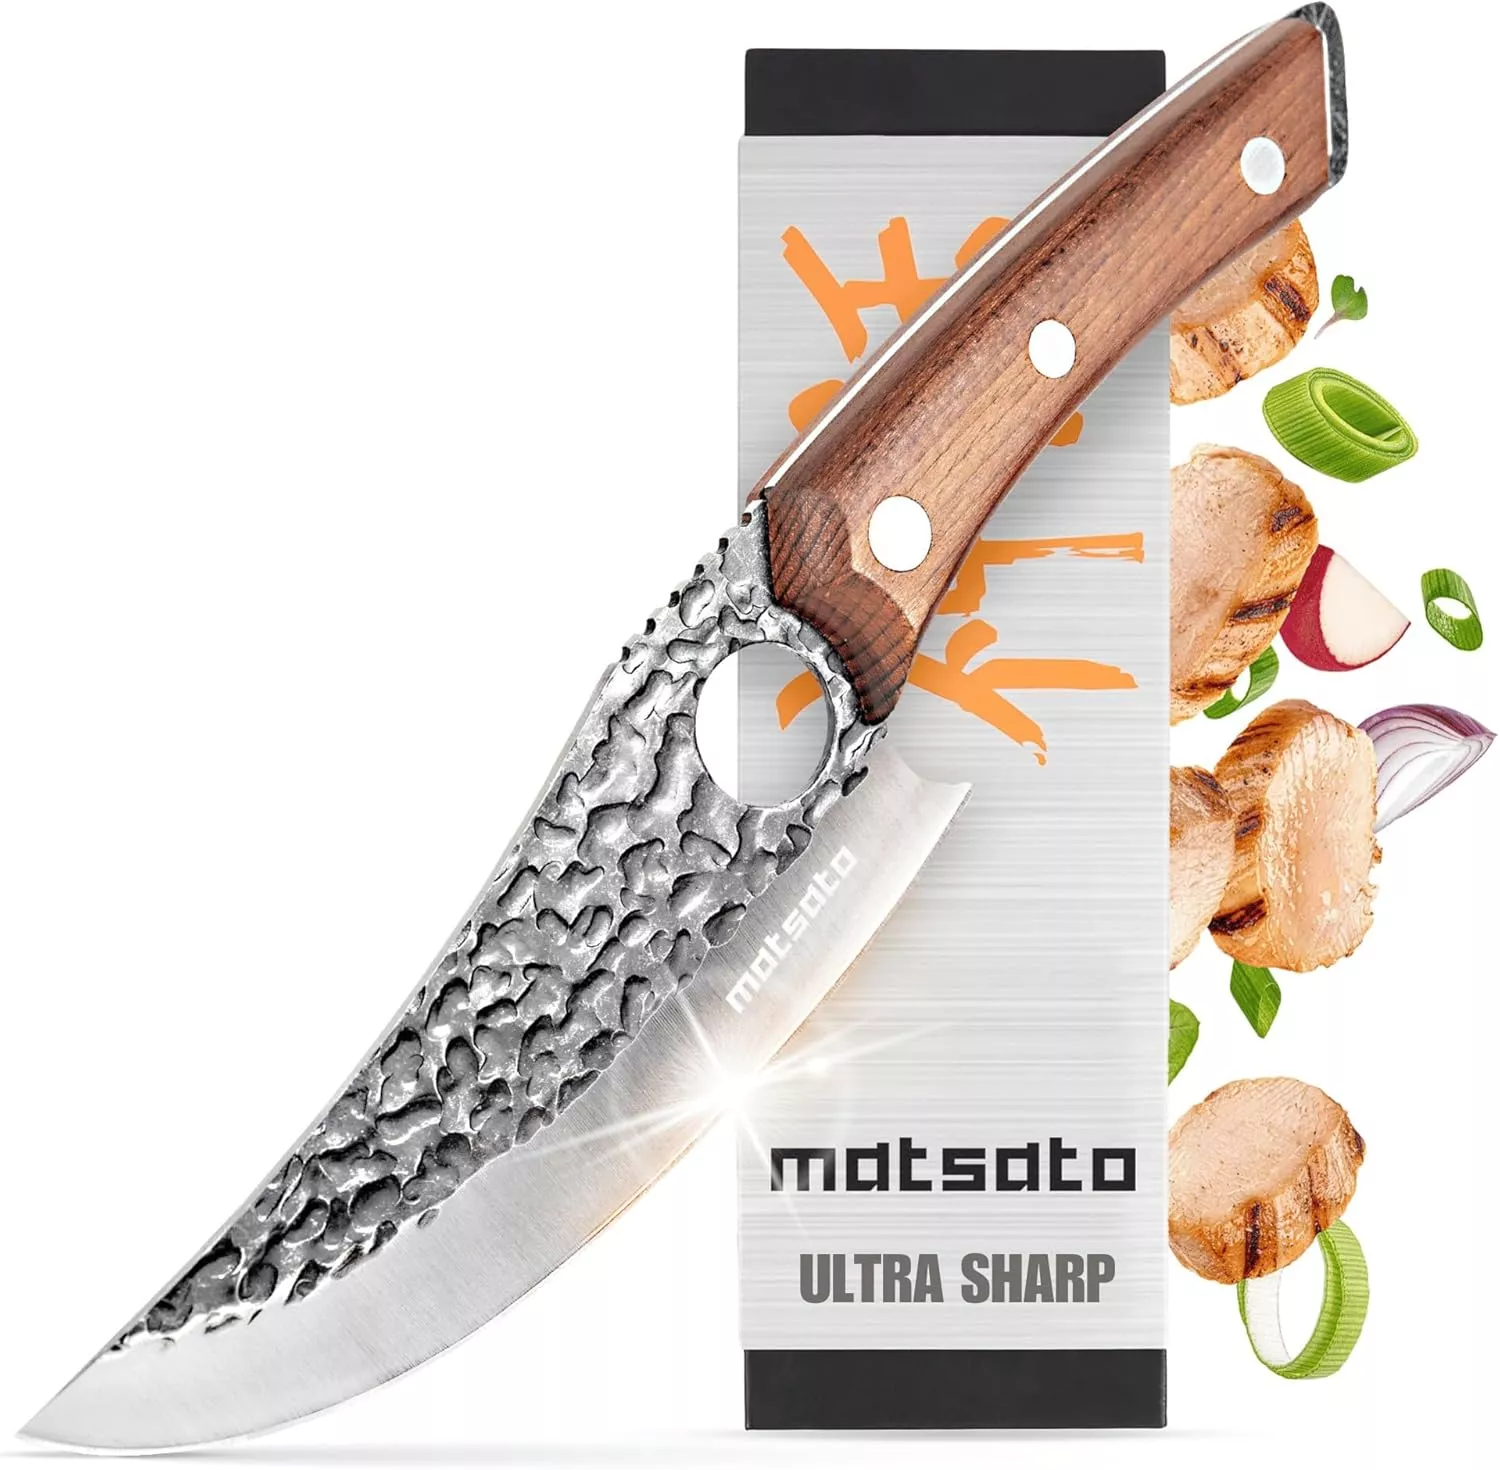
- Stays Razor-Sharp: Ice-hardened blade keeps its edge longer than ordinary knives
- Superior Grip Control: Unique finger hole design gives you perfect balance and safety
- Built to Last a Lifetime: Premium stainless steel blade with elegant beech wood handle
Customer Reviews ★★★★★
Step 2: Prepare the Dough
Roll out your chosen dough on a lightly floured surface. Cut it into 4×4 inch squares or circles based on your preference.
Step 3: Add Sauce
Spread a small spoonful of marinara sauce onto each piece of dough, taking care to leave clear edges for sealing.
Step 4: Layer Your Fillings
Add shredded mozzarella cheese along with Parmesan. If desired, layer on mini pepperoni or cooked sausage and any veggies you like. Finish with a sprinkle of Italian seasoning and red pepper flakes if you want some heat.
Step 5: Form the Pockets
Fold each piece of dough over to create a pocket. Use a fork to seal the edges tightly so that all that cheesy goodness stays inside while baking.
Step 6: Apply Egg Wash
Brush the tops of each pocket with beaten egg. This step gives them a beautiful golden brown color while baking.
Step 7: Bake Until Golden Brown
Place your prepared pizza pockets on the lined baking sheet. Bake them in the preheated oven for about 12–15 minutes until they turn golden brown and crispy.
Step 8: Serve Warm
Once baked, allow the pockets to cool slightly before serving. They’re delicious on their own but pair wonderfully with extra marinara sauce for dipping!
How to Serve Homemade Easy Cheesy Pizza Pockets
These Homemade Easy Cheesy Pizza Pockets are versatile and can be served in many fun ways. Whether for a party, family dinner, or snack time, here are some ideas to make your meal even better.
Pair with Dipping Sauces
- Marinara Sauce: A classic choice that enhances the cheesy flavors.
- Ranch Dressing: Creamy and tangy, perfect for those who love a cool dip.
- Barbecue Sauce: Adds a sweet and smoky twist to your pizza pockets.
Create a Pizza Pocket Platter
- Veggie Sticks: Carrots, celery, and bell peppers add crunch and freshness.
- Cheese Cubes: Offer a variety of cheeses like cheddar or pepper jack for extra flavor.
- Olives and Pickles: These tangy bites complement the rich flavors of the pizza pockets.
Serve with Salads
- Caesar Salad: Crisp romaine lettuce with creamy dressing pairs well with cheesy goodness.
- Caprese Salad: Fresh tomatoes, mozzarella, and basil add brightness to your meal.

How to Perfect Homemade Easy Cheesy Pizza Pockets
Making the perfect Homemade Easy Cheesy Pizza Pockets is all about technique and ingredients. Here are some tips to ensure they turn out amazing every time.
- Use High-Quality Cheese: Opt for fresh mozzarella for a gooey texture that melts beautifully.
- Seal Edges Well: Make sure to press the edges firmly to prevent filling from leaking during baking.
- Experiment with Fillings: Try different cheese blends or add unique toppings like spinach or sun-dried tomatoes.
- Adjust Cooking Time Based on Ovens: Keep an eye on them as baking times may vary depending on your oven’s efficiency.
- Let Cool Slightly Before Serving: This helps avoid burns from hot filling and allows flavors to meld together.
- Garnish Creatively: Sprinkle fresh herbs or chili flakes just before serving for an extra pop of flavor.
Best Side Dishes for Homemade Easy Cheesy Pizza Pockets
Pairing side dishes with your Homemade Easy Cheesy Pizza Pockets can elevate your meal. Here are some great options that complement these tasty treats.
- Garlic Breadsticks: Soft and buttery sticks that provide a delightful crunch alongside pizza pockets.
- Mixed Green Salad: A light salad with vinaigrette balances the richness of the cheese-filled pockets.
- Sweet Potato Fries: Crispy fries add sweetness and texture that contrast nicely with savory flavors.
- Fruit Salad: A refreshing mix of seasonal fruits makes for a sweet counterpoint to the savory pockets.
- Pasta Salad: Cold pasta salad with veggies can be filling yet light enough not to overshadow the main dish.
- Mozzarella Sticks: Because why not double down on cheese? Serve them hot with marinara for dipping!
Common Mistakes to Avoid
Making Homemade Easy Cheesy Pizza Pockets can be fun, but a few common errors can lead to less-than-perfect results. Here are some mistakes to watch out for:
- Skipping the egg wash: Not brushing the tops with a beaten egg can lead to dull and pale pockets. This step helps achieve a golden, crispy finish.
- Overfilling the pockets: Adding too much filling can cause the dough to burst while baking. Stick to small spoonfuls of sauce and cheese to ensure they seal properly.
- Not sealing edges well: Failing to seal the edges securely may result in leaking during baking. Use a fork to press down firmly around the edges for a tight seal.
- Using cold dough: Starting with cold pizza dough can make it difficult to roll out and shape. Allow your dough to sit at room temperature for about 10 minutes before using.
- Neglecting seasoning: Forgetting to add seasonings can leave your pizza pockets bland. Always sprinkle Italian seasoning and other spices for enhanced flavor.

Storage & Reheating Instructions
Refrigerator Storage
- Store your Homemade Easy Cheesy Pizza Pockets in an airtight container.
- They will last for up to 3 days in the refrigerator.
Freezing Homemade Easy Cheesy Pizza Pockets
- To freeze, place them in a single layer on a baking sheet until firm, then transfer them to freezer-safe bags.
- They can be frozen for up to 2 months.
Reheating Homemade Easy Cheesy Pizza Pockets
- Oven: Preheat your oven to 350°F (175°C) and bake for about 10-12 minutes until heated through.
- Microwave: Heat on medium power for about 1-2 minutes, checking frequently so they don’t become soggy.
- Stovetop: Place them in a skillet over medium heat, covering with a lid. Cook for about 5-7 minutes until warmed through.
Frequently Asked Questions
Here are some common questions about making Homemade Easy Cheesy Pizza Pockets:
How do I customize my Homemade Easy Cheesy Pizza Pockets?
You can personalize these pockets by adding your favorite meats, veggies, or even different cheeses. Experiment with toppings like bell peppers or olives!
Can I use homemade dough instead of store-bought?
Absolutely! Using homemade pizza dough gives you more control over flavor and texture. Just ensure it’s rolled thin enough for easy folding.
Are Homemade Easy Cheesy Pizza Pockets kid-friendly?
Yes! These pockets are perfect for kids as they can choose their own fillings, making mealtime fun and interactive!
What dipping sauces pair well with these pizza pockets?
Marinara sauce is traditional, but ranch dressing or garlic butter also makes excellent dipping options.
Final Thoughts
Homemade Easy Cheesy Pizza Pockets are not only delicious but also incredibly versatile. You can customize them with various ingredients based on your preferences or what you have on hand. Whether you’re serving them as a snack or a meal, they’re sure to bring joy and satisfaction to everyone at the table. Give this recipe a try and enjoy crafting your perfect cheesy bites!

Homemade Easy Cheesy Pizza Pockets
- Total Time: 25 minutes
- Yield: Approximately 8 servings (16 pizza pockets) 1x
Description
Homemade Easy Cheesy Pizza Pockets are the ultimate comfort food, perfect for busy weeknights or casual gatherings. These delightful pockets are filled with gooey mozzarella cheese, savory marinara sauce, and your choice of customizable toppings, making them a hit with both kids and adults. With just 10 minutes of prep time, you can enjoy these delicious mini pizzas that everyone can personalize to their liking. Whether you’re hosting a party or need a quick snack, these tasty treats are sure to deliver fun and flavor in every bite!
Ingredients
- 1 package refrigerated pizza dough
- 1/2 cup marinara or pizza sauce
- 1 1/2 cups shredded mozzarella cheese
- Optional: pepperoni, cooked sausage, bell peppers, mushrooms
- 1 egg (for egg wash)
Instructions
- Preheat the oven to 375°F (190°C). Line a baking sheet with parchment paper.
- Roll out the pizza dough on a floured surface and cut into 4×4 inch squares.
- Spread a small spoonful of marinara sauce on each square, leaving edges clear for sealing.
- Add mozzarella cheese and desired fillings on top.
- Fold each square to form pockets and seal edges with a fork.
- Brush tops with beaten egg for a golden finish.
- Bake for 12–15 minutes until golden brown.
- Prep Time: 10 minutes
- Cook Time: 15 minutes
- Category: Appetizers
- Method: Baking
- Cuisine: Italian
Nutrition
- Serving Size: 2 pizza pockets (120g)
- Calories: 320
- Sugar: 3g
- Sodium: 680mg
- Fat: 16g
- Saturated Fat: 8g
- Unsaturated Fat: 6g
- Trans Fat: 0g
- Carbohydrates: 34g
- Fiber: 2g
- Protein: 12g
- Cholesterol: 50mg


