Valentine’s Day Oreo Pops
These Valentine’s Day Oreo Pops are the perfect treat to whip up for your friends or loved ones! With their vibrant colors and delightful crunch, these pops not only make a fantastic dessert but also add a festive touch to any celebration. They’re easy to prepare and can be customized with your favorite sprinkles, making them suitable for various occasions beyond just Valentine’s Day. Whether you’re looking for a fun classroom treat or a sweet gift, these Oreo pops stand out with their cute presentation and delicious flavor.

Why You’ll Love This Recipe
- Quick and Easy: This recipe takes only minutes to prepare, making it perfect for last-minute treats.
- Customizable: Change up the colors and sprinkles to match any occasion or personal preference.
- Fun Activity: Great for kids to help with, turning dessert-making into a fun bonding experience.
- Eye-Catching Presentation: The vibrant colors and playful decorations make these pops visually appealing.
- Delicious Flavor: The combination of chocolatey Oreos and sweet candy melts is irresistible.
Tools and Preparation
Before diving into this sweet project, gather your tools. Having everything ready will make the process smoother and more enjoyable.
Essential Tools and Equipment
- Microwave-Safe Cups
- Parchment Paper
- Disposable Candy Piping Bag (optional)
Importance of Each Tool
- Microwave-Safe Cups: These are essential for melting the candy melts safely and efficiently.
- Parchment Paper: Prevents sticking and makes cleanup a breeze when cooling the pops.
- Disposable Candy Piping Bag: Great for adding decorative drizzle; it gives your pops a professional touch.
Ingredients
For the Pops
- Oreo Cookies
- 4 Lollipop Sticks
- Candy Melts (red, bright pink, and bright white)
- Sprinkles (jumbo hearts, mini hearts, and sugar pearls)
Additional Supplies
- 3 Microwave-Safe Cups
- Disposable Candy Piping Bag (optional, for drizzle decorations)
- Parchment Paper
How to Make Valentine’s Day Oreo Pops
Step 1: Prepare the Oreos
- Start by twisting and separating the Oreo Cookies into two halves.
- In a microwave-safe cup, melt a small amount of candy melts (any color) in 20-second increments, stirring well after each increment.
- Dip the end of a lollipop stick into the melted candy, then sandwich it between both halves of the Oreo.
- Allow the candy to cool completely; placing them in the freezer can speed up this process if you’re in a hurry.
Step 2: Coat with Candy Melts
- Fill another microwave-safe cup about two-thirds full of red candy melts, and melt them in 20-second increments while stirring afterward until smooth.
- Dip each Oreo pop into the melted red candy, ensuring it’s fully coated.
- Lay each cookie pop on a sheet of parchment paper to cool and firm up.
- While the candy is still wet, add sprinkles for decoration if desired.
- Repeat this process with additional colors of candy melts as desired.
Now you’re ready to enjoy your festive Valentine’s Day Oreo Pops! These treats are sure to impress anyone who receives them!
Grab This Chef Knife Now - Almost Gone!
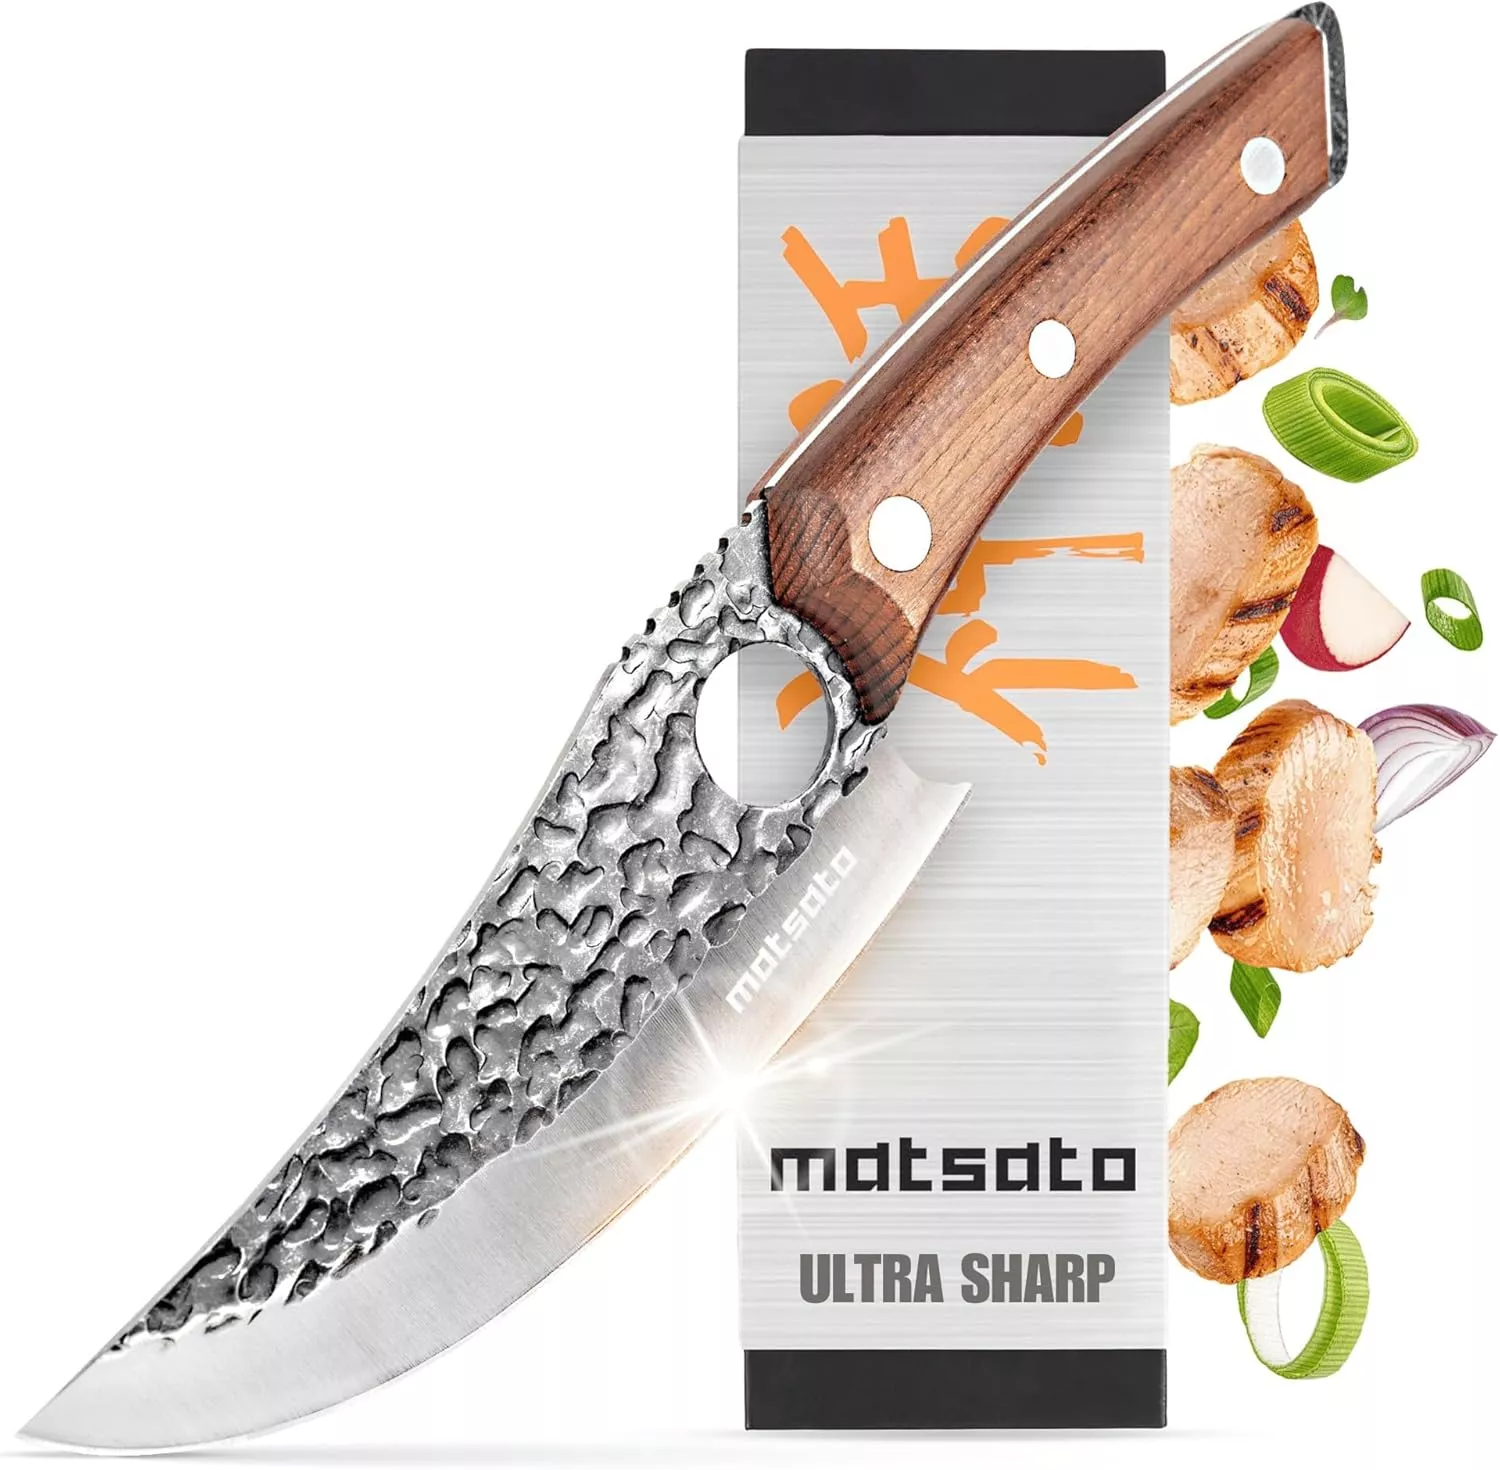
- Stays Razor-Sharp: Ice-hardened blade keeps its edge longer than ordinary knives
- Superior Grip Control: Unique finger hole design gives you perfect balance and safety
- Built to Last a Lifetime: Premium stainless steel blade with elegant beech wood handle
Customer Reviews ★★★★★
How to Serve Valentine’s Day Oreo Pops
Serving Valentine’s Day Oreo Pops can be a delightful experience. These pops are not only tasty but also visually appealing, making them perfect for sharing with friends, family, or classmates. Here are some fun ways to serve them:
On a Dessert Table
- Arrange the Oreo pops on a tiered cake stand for an eye-catching display.
- Add themed decorations like hearts or flowers around the base.
Gift Bags
- Place individual Oreo pops in clear treat bags tied with colorful ribbons.
- This makes for a sweet and personal gift for friends or loved ones.
Classroom Treats
- Bring a batch to share with your child’s class for Valentine’s Day celebrations.
- Consider labeling each pop with a name tag for a personalized touch.
Party Favors
- Use the Oreo pops as party favors at your Valentine’s Day gathering.
- Guests will love taking home this fun treat!
Themed Plates
- Serve the pops on plates that match your Valentine’s Day theme.
- Use colors like red, pink, and white to enhance the festive look.

How to Perfect Valentine’s Day Oreo Pops
Creating perfect Valentine’s Day Oreo Pops requires attention to detail. With just a few tips, you can elevate your treats:
- Use quality chocolate: High-quality candy melts ensure smooth coating and great flavor.
- Dip carefully: Make sure to dip the pop straight down and pull it up slowly to avoid drips.
- Decorate while wet: Add sprinkles immediately after dipping so they stick well.
- Cool properly: Allow the pops to cool completely on parchment paper before serving to maintain shape.
- Experiment with flavors: Try using different flavored Oreos or candy melts for unique variations.
- Store correctly: Keep finished pops in an airtight container at room temperature to maintain freshness.
Best Side Dishes for Valentine’s Day Oreo Pops
While these Valentine’s Day Oreo Pops are delicious on their own, pairing them with the right side dishes can create a well-rounded dessert experience. Here are some great options:
-
Chocolate-Covered Strawberries
A classic treat that pairs beautifully with Oreo pops; simply dip fresh strawberries in chocolate. -
Mini Cheesecakes
Bite-sized cheesecakes add richness to your dessert table and complement the sweet Oreos nicely. -
Fruit Skewers
Brightly colored fruit skewers add freshness and contrast against the sweetness of the Oreo pops. -
Red Velvet Cupcakes
These festive cupcakes bring a lovely color theme and are always a crowd favorite. -
Heart-Shaped Cookies
Simple sugar cookies shaped like hearts can be decorated similarly to your Oreo pops. -
Chocolate Mousse
Light and airy, this dessert offers a luxurious touch that balances out the crunchy texture of the pops. -
Vanilla Ice Cream
A scoop of vanilla ice cream provides a creamy contrast that is perfect alongside your treats. -
Panna Cotta
This silky Italian dessert can be flavored with vanilla or berry, adding elegance to your sweet spread.
Common Mistakes to Avoid
Making Valentine’s Day Oreo pops can be a fun and quick process, but avoid these common errors for the best results.
- Skipping the Cooling Step: Failing to let the candy cool properly can result in messy pops. Always wait for the candy to firm up before handling.
- Overheating Candy Melts: Heating candy melts too long can cause them to seize. Use 20-second intervals to melt them slowly and stir frequently.
- Not Using Enough Sprinkles: If you wait too long to add sprinkles, they won’t stick. Sprinkle while the candy coating is still wet for better coverage.
- Inconsistent Coating: Not dipping evenly may lead to uneven pops. Make sure to fully immerse each Oreo in the melted candy for a smooth finish.
- Forgetting Lollipop Sticks: Neglecting to secure the stick properly can result in a pop that falls apart. Ensure you dip the stick in melted candy before inserting it into the Oreo.

Storage & Reheating Instructions
Refrigerator Storage
- Store your Valentine’s Day Oreo pops in an airtight container.
- They will last up to one week in the refrigerator.
Freezing Valentine’s Day Oreo Pops
- Wrap each pop individually in plastic wrap before placing them in an airtight container.
- They can be frozen for up to three months.
Reheating Valentine’s Day Oreo Pops
- Oven: Preheat to 250°F (120°C). Place pops on a baking sheet for about 5 minutes or until just warm.
- Microwave: Heat on low power for 10-15 seconds if you want a soft pop, but avoid melting the coating.
- Stovetop: Not recommended, as it may lead to melting and messiness.
Frequently Asked Questions
Here are some common questions about making Valentine’s Day Oreo pops.
Can I use different types of cookies for Valentine’s Day Oreo Pops?
Yes, feel free to experiment with different flavors of cookies! Just ensure they are sturdy enough for popping.
How do I make vegan Valentine’s Day Oreo Pops?
Use vegan-friendly cookies and dairy-free candy melts. This way, everyone can enjoy them!
What is the best way to decorate my Valentine’s Day Oreo Pops?
You can use colorful sprinkles, edible glitter, or even drizzle additional melted chocolate on top for decoration!
How do I package my Valentine’s Day Oreo Pops as gifts?
Place each pop in a clear bag and tie it with a ribbon. It makes for a beautiful presentation!
Final Thoughts
Valentine’s Day Oreo pops are not only simple and quick to make but also incredibly versatile! Customize them with your favorite colors and toppings for unique creations. Whether you’re making them for friends or as gifts, these delightful treats are sure to spread love and joy this Valentine’s Day. Try this recipe today and let your creativity shine!

Valentine’s Day Oreo Pops
- Total Time: 25 minutes
- Yield: Makes approximately 12 servings 1x
Description
Indulge in the festive spirit with these delightful Valentine’s Day Oreo Pops! These easy-to-make treats combine the classic taste of Oreo cookies with vibrant candy melts and fun sprinkles, making them perfect for sharing with friends, family, or classmates. With minimal preparation time and endless customization options, these pops are not only a sweet gift but also an enjoyable activity to create with loved ones. Whether you’re hosting a Valentine’s Day party or looking for a charming surprise for that special someone, these visually appealing dessert pops are sure to impress!
Ingredients
- Oreo Cookies
- 4" Lollipop Sticks
- Candy Melts (red, pink, white)
- Sprinkles (jumbo hearts, mini hearts, sugar pearls)
- Parchment Paper
Instructions
- Twist and separate each Oreo cookie into two halves.
- Melt a small amount of candy melts in a microwave-safe cup in 20-second increments.
- Dip one end of a lollipop stick into the melted candy, then sandwich it between the Oreo halves. Allow to cool.
- Melt red candy melts until smooth and dip each assembled Oreo pop, ensuring full coverage.
- Place on parchment paper and add sprinkles while the coating is still wet. Let cool completely.
- Prep Time: 15 minutes
- Cook Time: 10 minutes
- Category: Dessert
- Method: No cooking required
- Cuisine: American
Nutrition
- Serving Size: 1 serving
- Calories: 190
- Sugar: 19g
- Sodium: 90mg
- Fat: 9g
- Saturated Fat: 5g
- Unsaturated Fat: 3g
- Trans Fat: 0g
- Carbohydrates: 27g
- Fiber: 1g
- Protein: 1g
- Cholesterol: 0mg


